PAX 3 Vaporizer Review
The PAX 3 vaporizer, released back in 2016, continues to hold its ground as a leading device in the vaping world. Despite the influx of new models, the PAX 3 remains a favored choice for its compact design, versatility, and technological advancements. In this comprehensive review, we delve into the reasons why the PAX 3 is still a game-changer in 2024.

Overview and Design
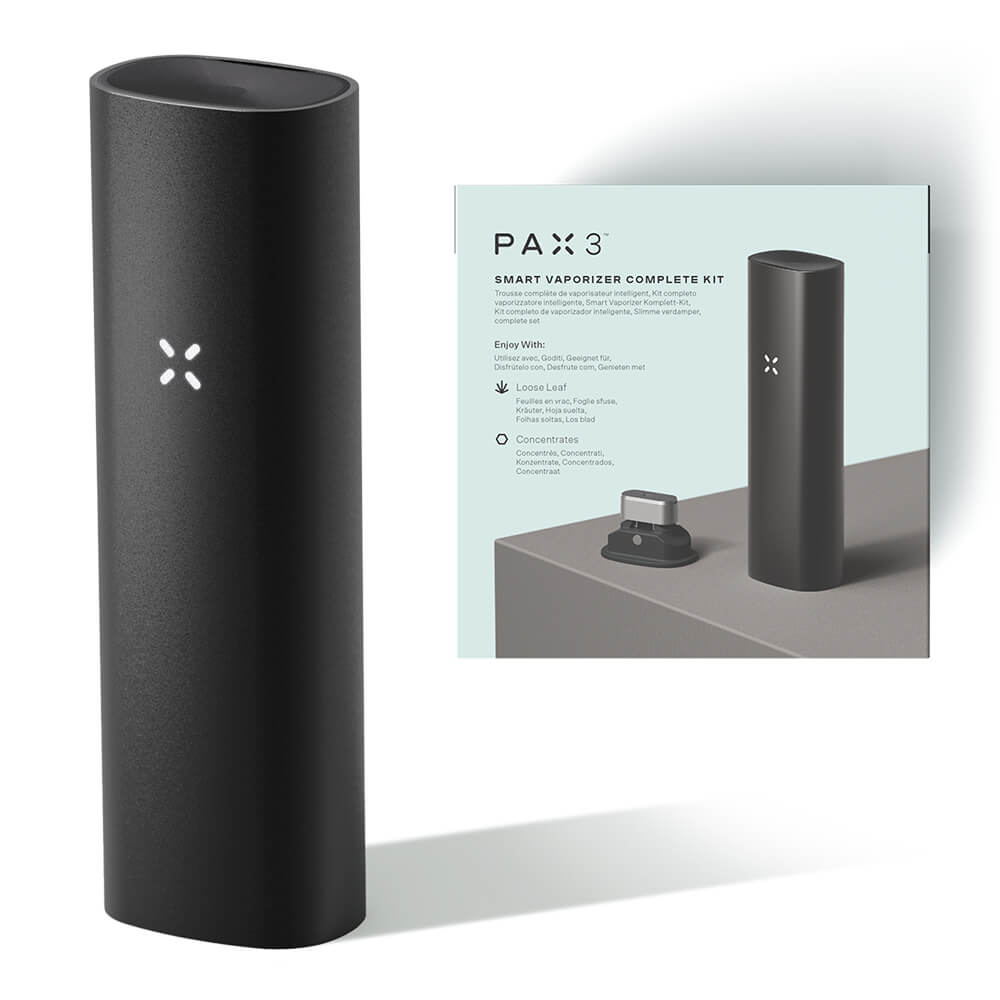
The PAX 3 vaporizer boasts a sleek and compact design, measuring 4”x1”x1” and weighing 93g. It’s available in a range of colors, including matte black, rose gold, silver, teal, and fuchsia, allowing users to choose a style that best fits their personality. The device features a durable anodized aluminum shell and a minimalist aesthetic, with an intuitive interface marked by LED lights and a hidden button on the mouthpiece.

Performance and Features
Heating Efficiency and Control
The PAX 3 shines in its heating efficiency, with a temperature range of 360 – 420 Fahrenheit and an average heat-up time of 20 to 30 seconds. This quick heating is paired with a conduction oven that heats materials gently and evenly, ensuring minimal waste. Users can fine-tune the temperature settings in one-degree increments using the accompanying smartphone app.
Dynamic Modes
With five Dynamic Modes™ (Standard, Stealth, Boost, Flavor, Efficiency), the PAX 3 offers versatility to suit different vaping preferences. These modes can be adjusted via the smartphone app, available on Android devices, enhancing the overall user experience.
Smart Technology
The PAX 3 uses smart technology to optimize user experience. It features lip-sensing technology that adjusts the temperature based on usage, conserving material and battery life. The device also has an auto shut-off timer, which activates after three minutes of inactivity, and haptic feedback to indicate readiness.
Battery Life and Charging
The PAX 3 offers impressive battery life with its 3500mAh battery, providing about 90 minutes of vaping time on a full charge. Its efficient battery management allows for multiple sessions before needing a recharge. The device charges via a magnetic charging dock, taking approximately 90 minutes for a full charge.
Compatibility and Ease of Use
The PAX 3 is compatible with both dry herbs and concentrates, making it a versatile choice for different vaping materials. Its easy-to-use interface, with a single button operation and clear LED indicators, makes it accessible even for beginners. The device is also easy to clean and maintain, ensuring long-lasting performance.
How to Use the PAX 3 Vaporizer
The PAX 3 is a popular dry herb vaporizer known for its sleek design, ease of use, and efficiency. Here’s a step-by-step guide on how to use the PAX 3 Vaporizer:
Step 1: Charge Your PAX 3
Before using your PAX 3, ensure it is fully charged. Connect the vaporizer to the magnetic charging dock, and plug it into a USB power source. The LED petals will indicate the battery level. Once fully charged, the petals will turn green.
Step 2: Prepare Your Herbs
For optimal results, your herbs should be finely ground. Use a quality herb grinder to achieve a fine, even grind. The PAX 3 works best with a medium to fine grind.
Step 3: Pack the Oven
Remove the magnetic oven lid at the bottom of the PAX 3. Fill the oven with your ground herbs. Don’t overpack – ensure there’s enough room for air to pass through. Replace the oven lid securely.
Step 4: Power On and Select a Temperature
To turn on your PAX 3, press the center of the mouthpiece. The device will begin heating. To change the temperature setting, press and hold the mouthpiece button for a couple of seconds and then click through the temperature options. The PAX 3 has four temperature settings, indicated by the LED petals.
Step 5: Wait for It to Heat
The PAX 3 heats up quickly, usually in about 15-20 seconds. The LED lights will turn green when it’s ready to use.
Step 6: Inhale and Enjoy
Place your lips on the mouthpiece and take gentle, consistent draws. The PAX 3 is designed for sipping, not heavy inhaling.
Step 7: Stir the Oven Contents
Midway through your session, it’s a good idea to stir the contents of the oven. This ensures that your herbs are vaporized evenly.
Step 8: Cleaning and Maintenance
After your session, allow the PAX 3 to cool down. Remove the oven lid and empty the used herbs. Regular cleaning is essential for optimal performance. Use the cleaning tools provided to clean the oven and the vapor path.
Additional Features
- PAX App: The PAX 3 can be paired with a smartphone app for more precise temperature control and custom heating profiles.
- Haptic Feedback: The device vibrates when it’s ready to use and when it enters standby mode.
- Battery Life: The PAX 3’s battery can last for multiple sessions, but battery life depends on temperature settings and usage patterns.
Tips for Best Use
- Ensure the device is adequately charged before each use.
- Use finely ground herbs for the best experience.
- Start with a lower temperature and gradually increase to find your ideal setting.
- Clean your PAX 3 regularly for consistent performance.
Pros and Cons
Pros:
- Highly portable and discreet
- Fast heat-up time and efficient heating
- Versatile with various modes and material compatibility
- Long battery life
- Durable and user-friendly design
Cons:
- Limited app features for iPhone users
- Proprietary charge dock required
- Slightly higher price point for premium quality
Conclusion to the PAX 3 Vaporizer Review
The PAX 3 vaporizer stands out in 2024 for its consistent performance, technological advancements, and user-friendly features. It’s an excellent investment for both beginners and seasoned vapers seeking a high-quality, versatile device. With its 10-year warranty and robust build, the PAX 3 offers both reliability and value for money, making it a top choice in the vaping market.